Connecting Authorize.Net to Your Store
To begin using Authorize.Net, you must first connect the plugin to your Authorize.Net account. Follow the steps below to find your API credentials on Authorize.Net and setup the plugin:
- Login to your Authorize.Net account.
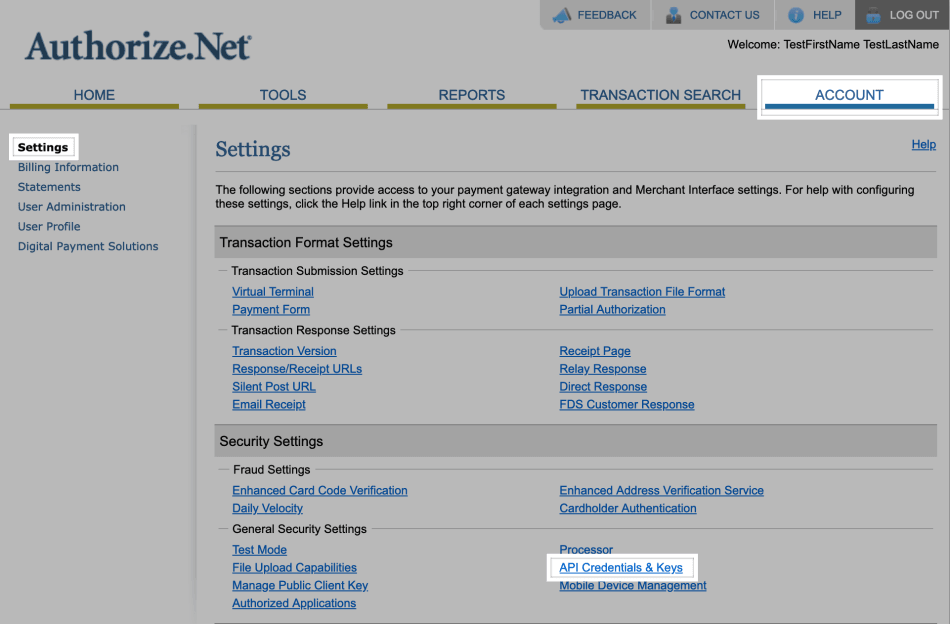
- Go to Accounts > Settings > API Credentials & Keys.
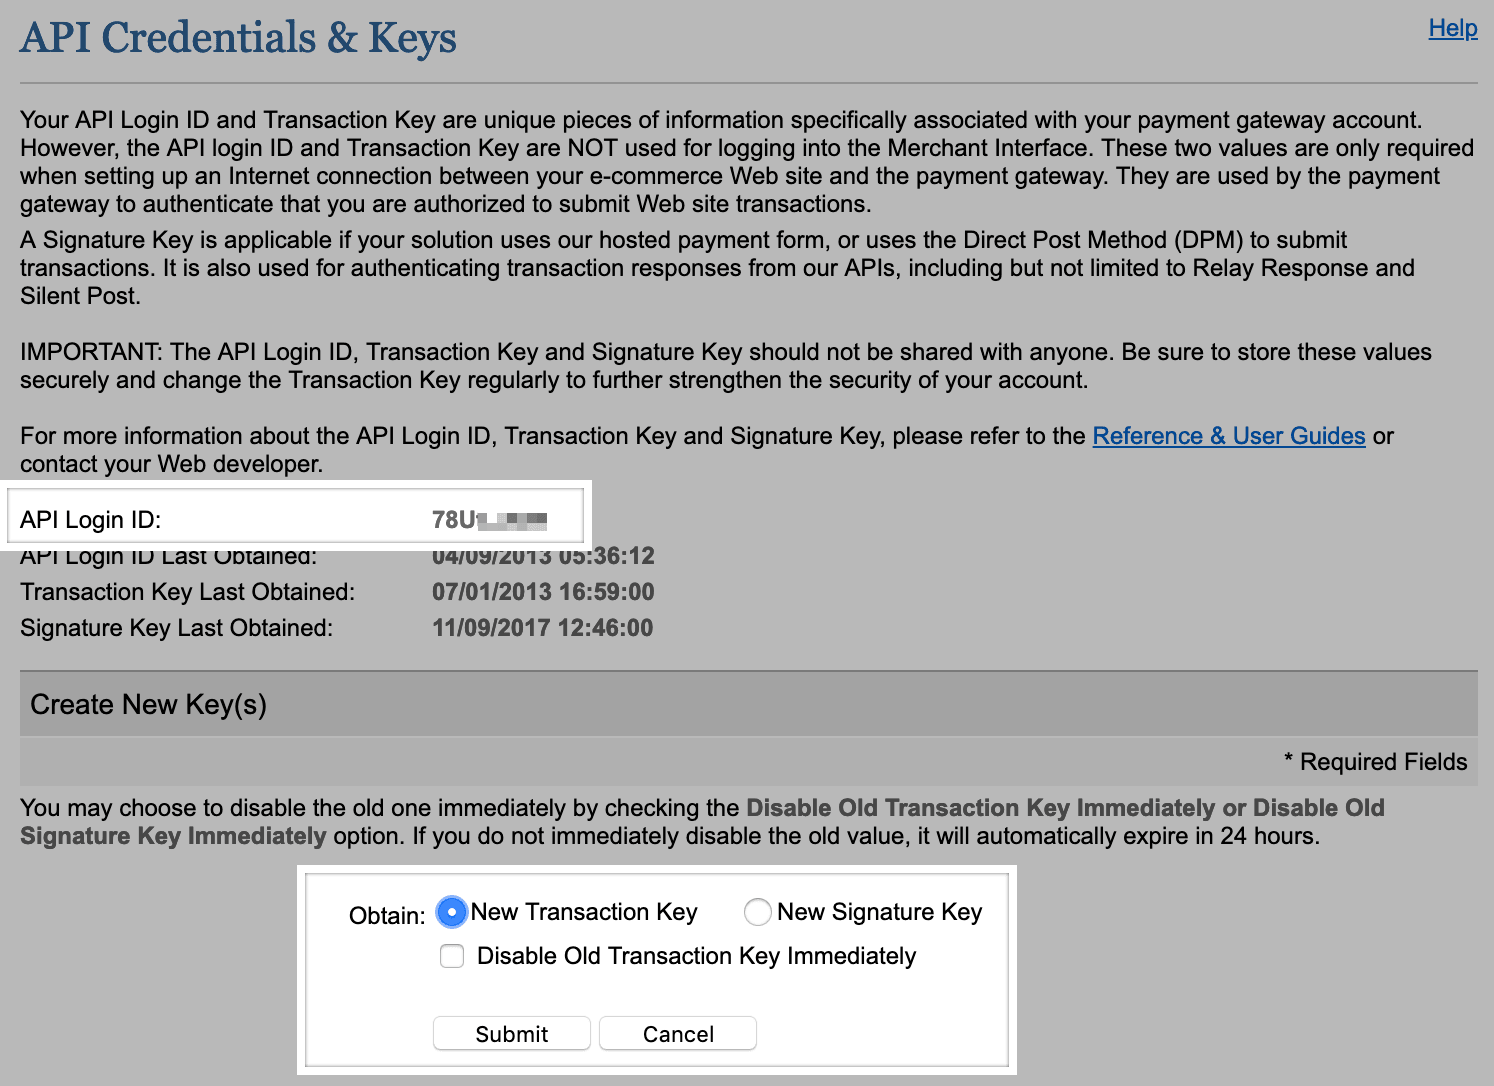
- Copy your API Login ID.
- Select the New Transaction Key radio button and click Submit. Copy the Transaction Key.
- If you want to setup webhooks, select the New Signature Key radio button and click Submit to generate the Signature Key.
- Now, log into your site and go to WooCommerce > Settings > Payments and select WooCommerce Authorize.Net.
- Paste the API Login ID, API Transaction Key, and API Signature Key, if applicable.
- Click Save Changes.
That’s all there is to it! You are now ready to start accepting credit cards in your online store, via Authorize.Net! If you are having difficulties installing & configuring this contact us and one of our support staff can do it for you, for a minimal fee.
Authorize.Net Gateway integrates with Authorize.Net payment services to provide secure and powerful payment processing for your store. With this gateway, you can accept credit cards and eChecks and let customers save their payment details to your site for fast and easy checkouts.
This plugin also includes Accept.js from Authorize.Net for improved security and decreased PCI compliance responsibility. Customer credit card information is handled directly by Authorize.Net to offload some security concerns. Click here to learn more about Accept.js
Requirements
- An Authorize.Net account
- PHP 7.0+
- An SSL certificate. **An SSL certificate is also required on local test environments.
Extra Information
If you plan to use this plugin with Subscriptions, Pre-Orders, or want to allow customers to save their payment details, the Customer Information Manager (CIM) feature must be enabled on your Authorize.Net account (additional monthly costs may apply).